I’ve made a couple of these tablets, experimenting with form and function. I’ve been learning a lot about historical writing surfaces, woodworking, beeswax temperaments, and the tactile oddities of stylus-based writing. Below is a brief history of the form followed by a quick how-to, with some practical notes from my own experiments at the very end. All pictures are my own, except where attributed.
A History
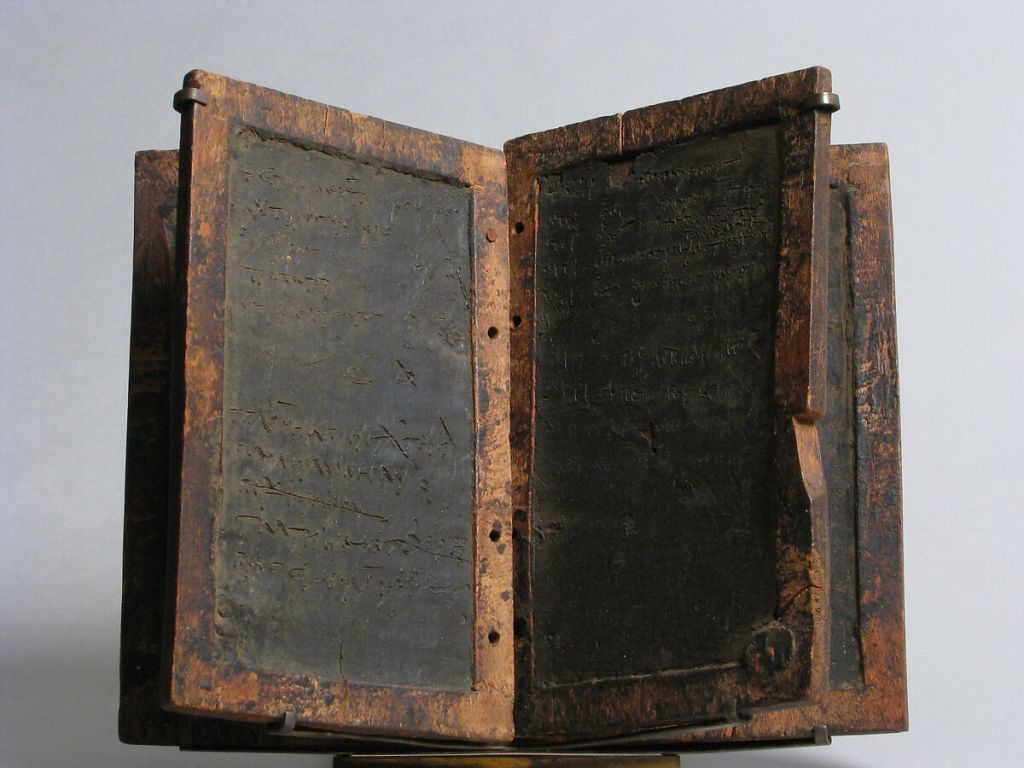
Wax tablets have roots that go back over three thousand years. Archaeologists have found bronze styli with pointed tips and flat spatula ends in Bronze Age Anatolia, and by the time of the Neo-Assyrian and Neo-Babylonian periods, it’s likely that wax tablets were being used for both cuneiform and the emerging Aramaic alphabet—showing them to be a flexible medium that could adapt to multiple writing systems. From there, the technology spread west via the Arameans and Phoenicians, eventually reaching the Greek world. The Greek word for a wax tablet, δέλτος, is actually a Phoenician loanword—ultimately from the Akkadian daltu, meaning “door.”
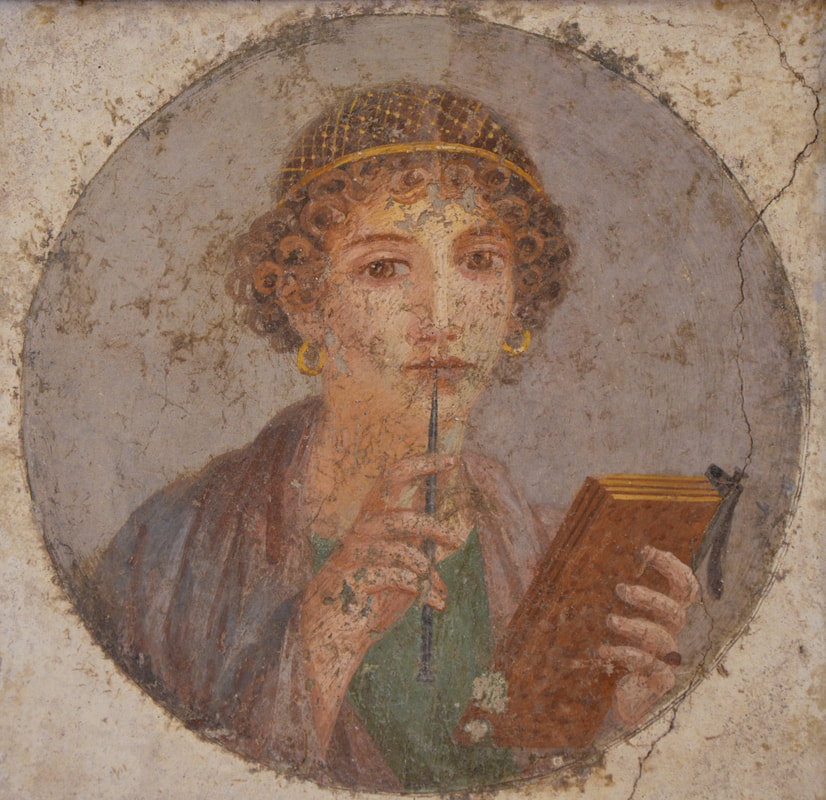
They’re particularly fascinating if you’re interested in letter forms. Because the stylus incises the wax, it encourages different motor habits and line qualities: straighter lines, more angular forms, and simpler geometries. That might be part of why early Greek inscriptions on stone look the way they do: the wax tablet was probably the everyday tool behind the scenes, shaping how people thought letters should be formed.
At the same time, wax tablets allowed for quick, informal writing which makes them a crucial counterpart to the largely composed inscriptions that endured to today—the outcome of the ‘preservation bias.’ These tablets were a bridge between ephemeral thought and durable text, and working with them now offers a glimpse into how alphabets lived before fossilizing on stone.
How-to
0. Materials and Tools
Tablet components:
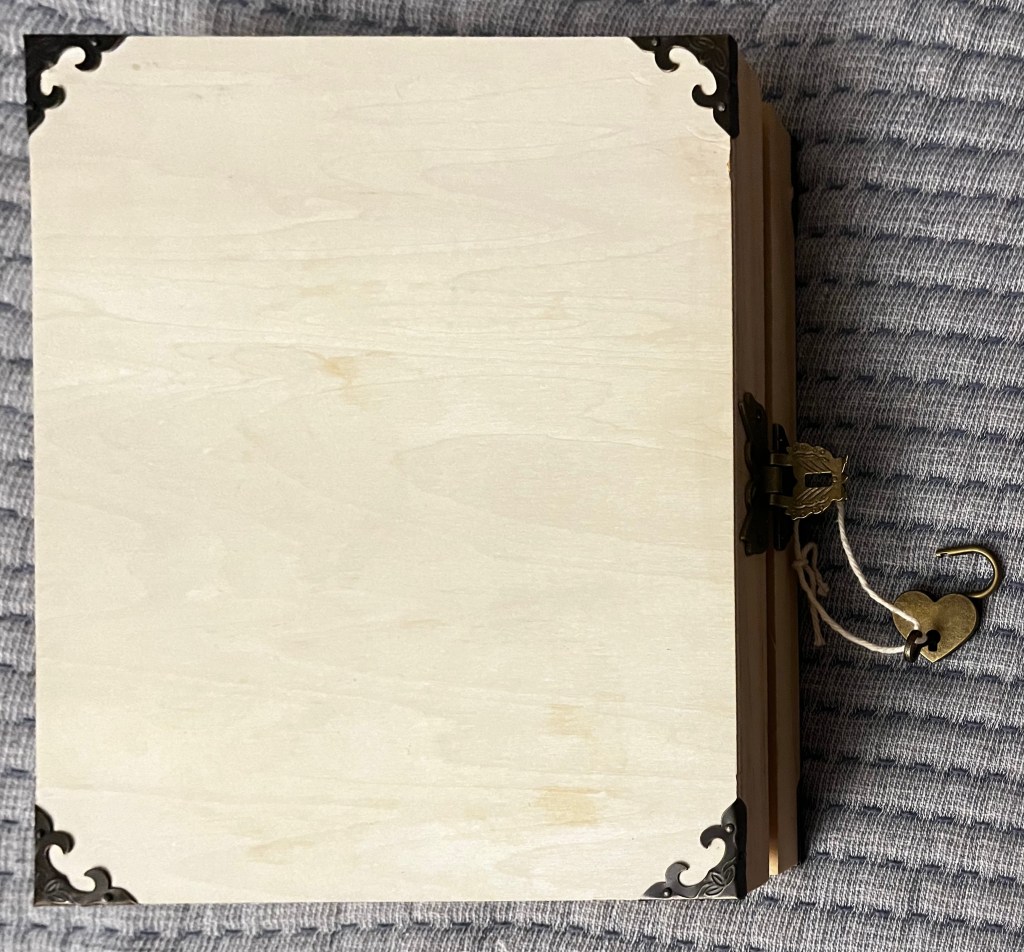
- 1 or 2 wooden panels with an inset well (Google “Cradled Wood Painting Panel” to find these)
- Beeswax (at least 2 lbs to be safe, but adjust for size, naturally; here are the pellets which are on the softer side that I used for second tablet)
- Optional hardware (examples that I used on larger tablet linked): closure, small lock with key, corner protectors
Tools to melt the wax:
- Pot
- Something to melt wax in, ideally a Pyrex measuring cup or a glass bowl that sits atop the pot
- ~1 liter of water
- Spoon to mix beeswax as it melts (speeds up the process)
Specifically for notebook-style tablets:
- 2 small hinges and screws
- Screwdriver (and drill if your wood is hard or your screws are large)
- Ruler, for measuring hinge placement
For the stylus:
- A wooden dowel (ideally ~6mm or ¼ inch in diameter, this is most comfortable to hold and is the size of a standard pencil, meaning mechanical/electric sharpeners will be able to handle it)
- Pencil sharpener or sharp knife
- Sandpaper, ideally 40 or 80 grit (note: smaller the number, the rougher the grit)
- Saw to cut the dowel, or strong hands to snap it
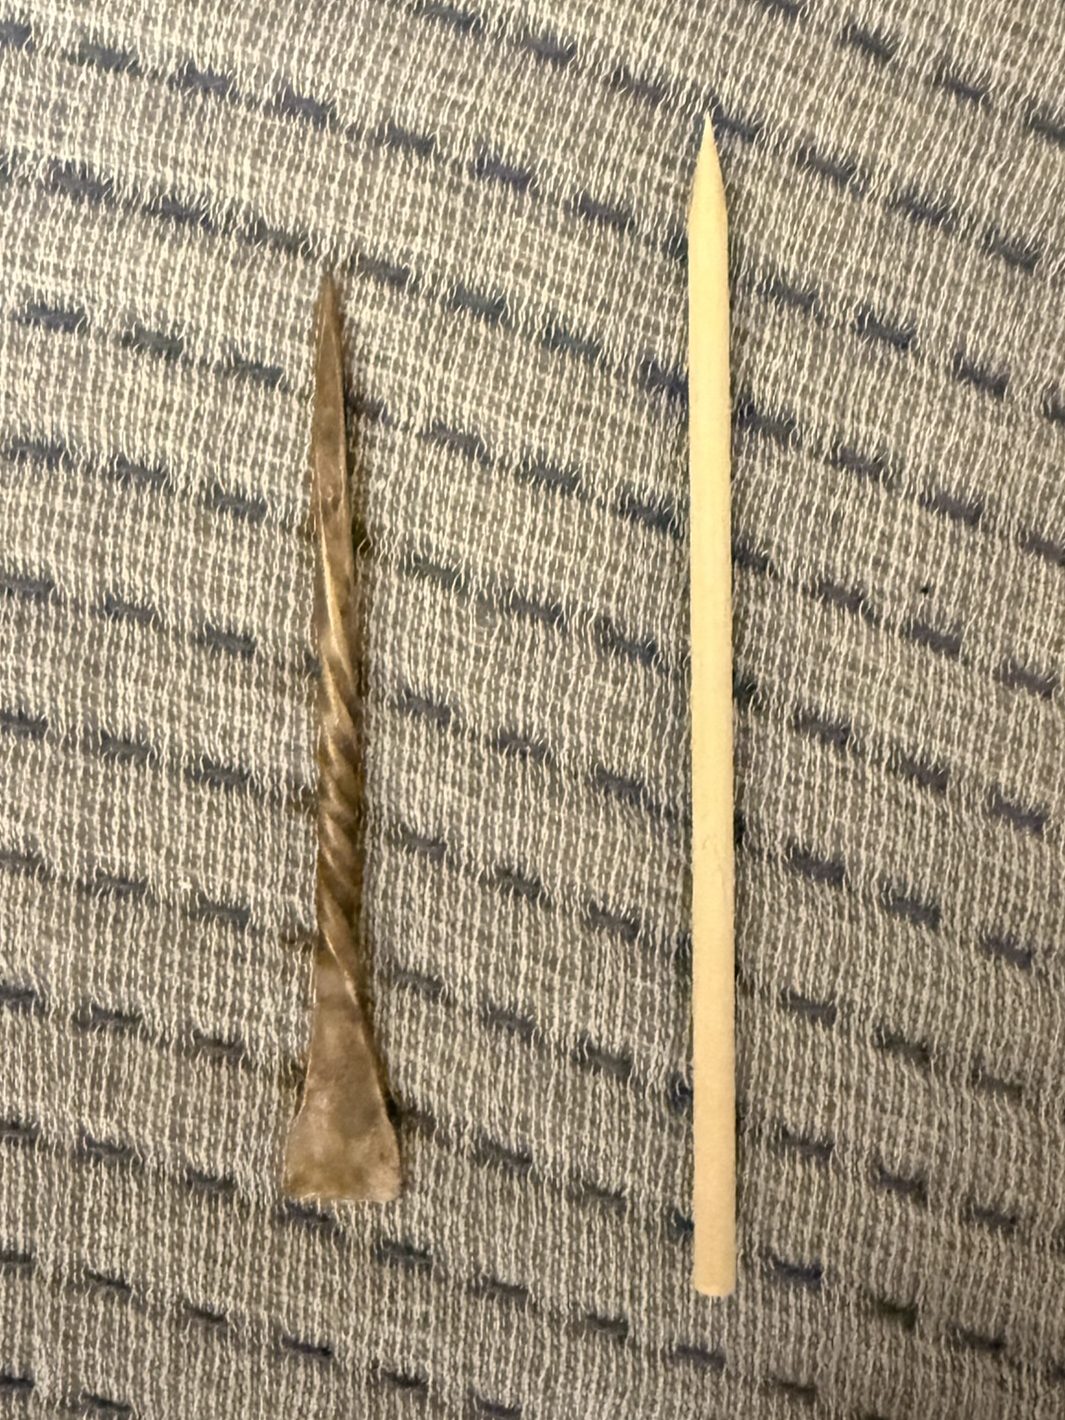
- Optional: you can also just buy a bronze stylus which comes with flat “eraser” end
1. Prepping the Wax

First time around, I bought a 2-lb block of beeswax and used a hammer and stone-carving chisel to break it up—doable, but kind of a pain. It was also a hard wax, which made writing more difficult. Second time, I used pre-softened pellets from Amazon (linked in section above)—much easier to melt and work with.
2. Melting and Pouring the Wax
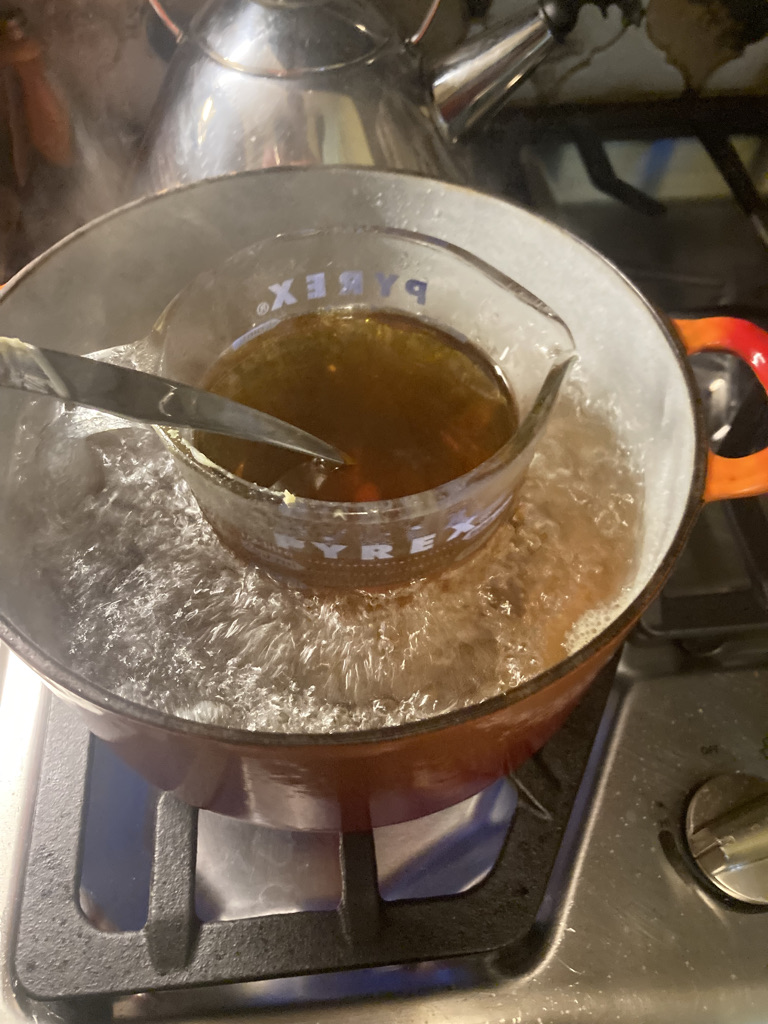
Use a double boiler setup (I used a Pyrex inside a pot of simmering water). Estimate the amount of wax needed by filling your wooden well with solid wax first, then dumping it into the Pyrex. Add about a third more than this, since melted wax takes up less space. Wait to pour the wax until it is fully liquefied, as below.
IMPORTANT: Pour continuously! If you pause for even 10–15 seconds, you’ll get visible layers that don’t bond well.
3. Cooling the Wax
Let the wax cool on a level surface. You can refrigerate to speed things up—about 15 minutes for a thin layer, but I’d give it 30 minutes to be safe.
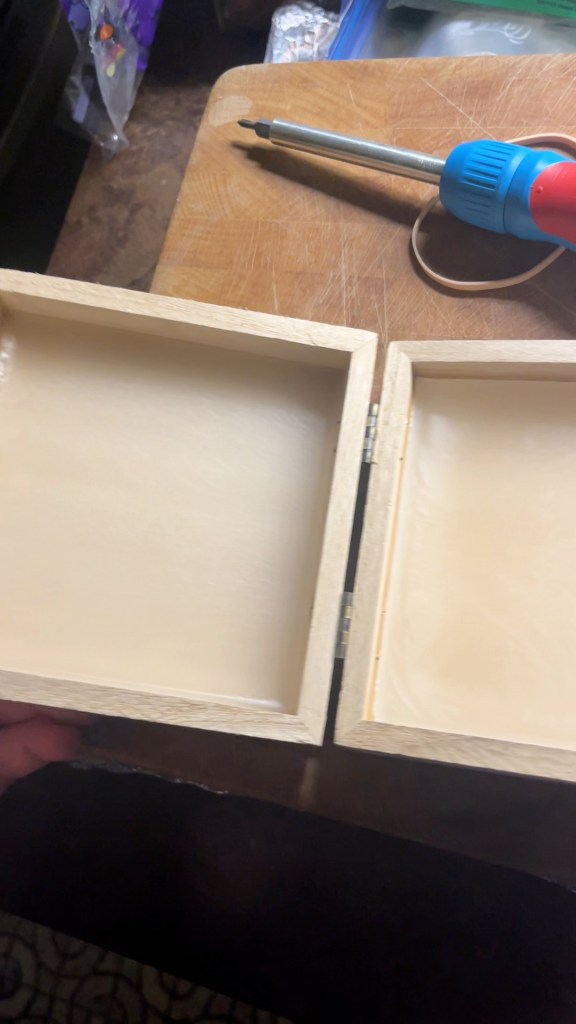
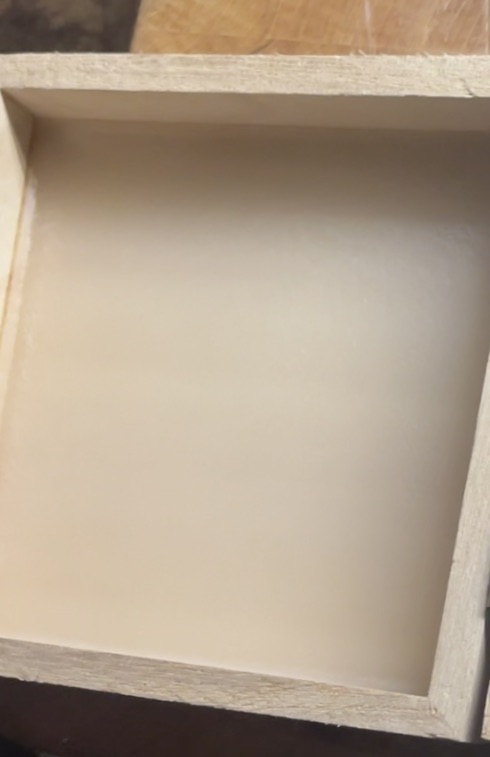
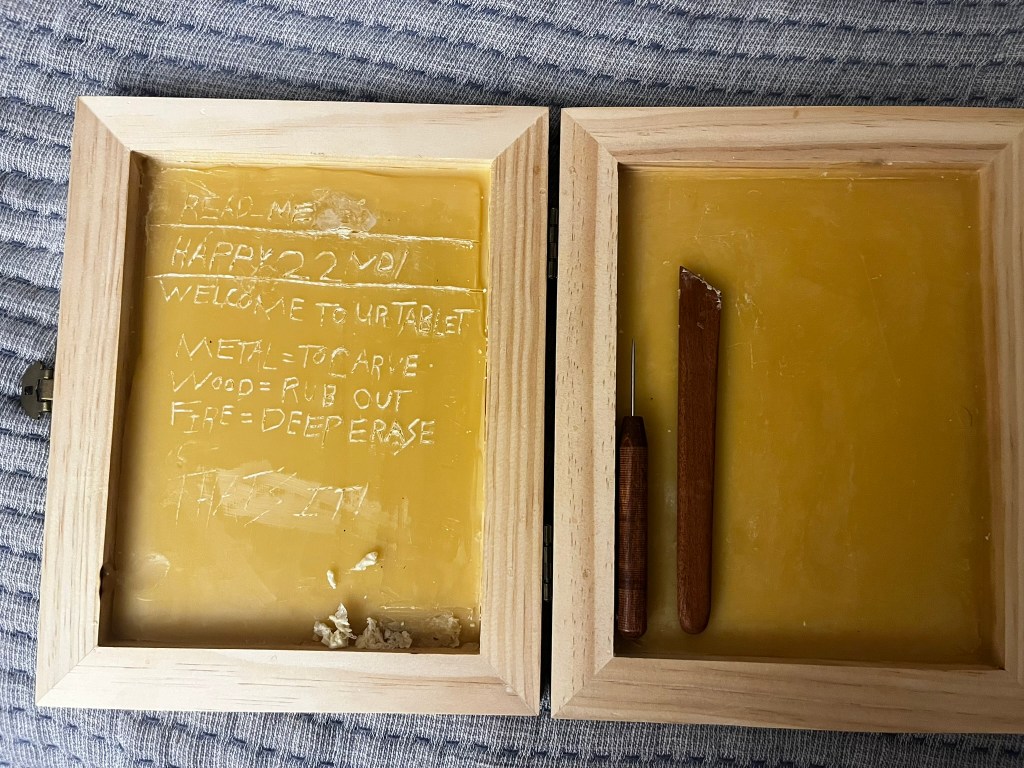
This image on the left shows what fully hardened wax looks like.
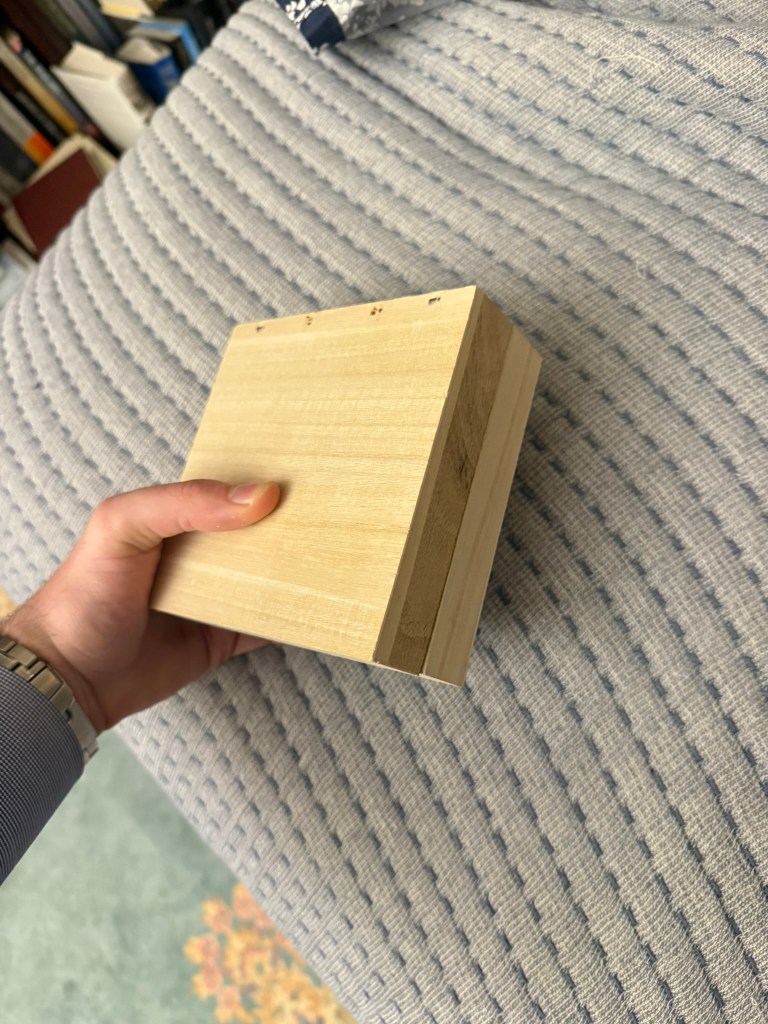
4. Assembly (For Notebook/Diptych Style)
Measure hinge placement at ¼ and ¾ along the side where the panels meet. Center the hinge’s barrel over the seam. Use a drill for cleaner pilot holes if needed.
If you’re using optional hardware like a latch or corner protectors, now’s the time. These can help disguise slight asymmetries or keep a wonky tablet shut.
5. Making a Wooden Stylus
Cut the dowel to your preferred length. I usually break it by hand, then sand the edge smooth. Sharpen one end to a point using either a pencil sharpener or a knife.
If you’re using a knife:
- Always cut away from your body
- Consider using safety glove (this can be found at hardware and kitchen supply stores, not to mention online—I personally use Wüsthof’s)
- Be most mindful of your body from elbow to fingertip—this is where most injuries occur in manufactury (shoutout to my friend at Dow Chemical for that tip).
6. Writing, Erasing, and Experimenting
Try varying your pressure and angle. Deeper strokes are easier to read but leave behind more excess wax. Shallower strokes are neater but harder to see. Softer wax helps a lot with both legibility and tactile feel.
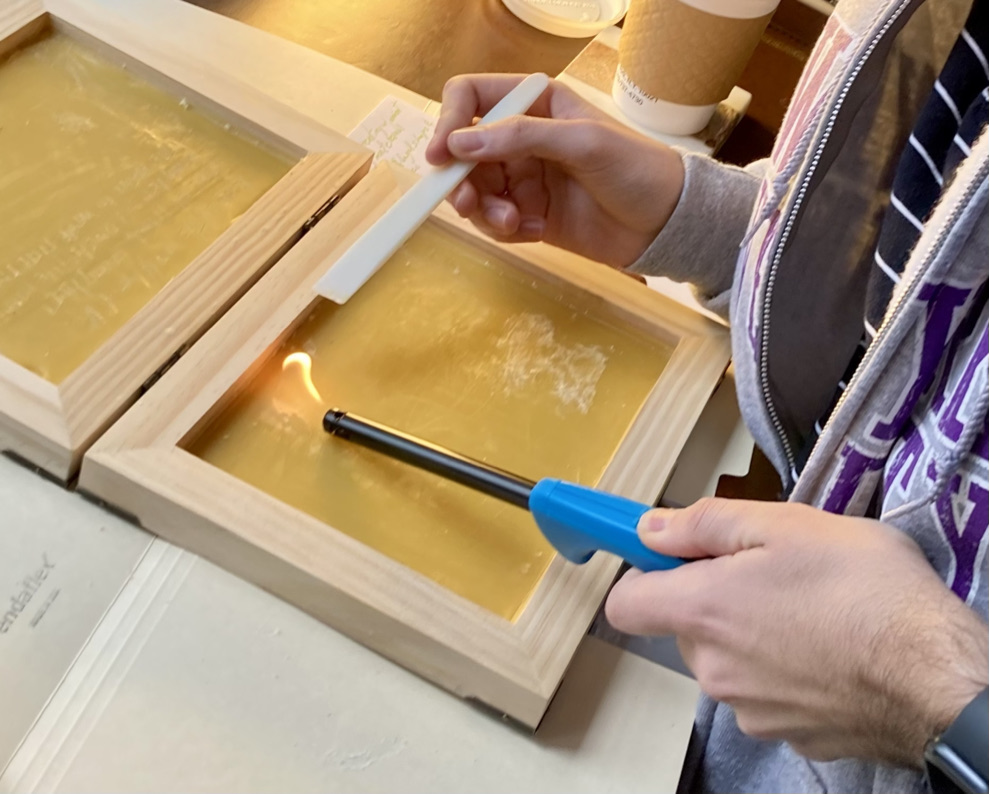
For erasing, you can use the flat end of a bronze stylus (mine is shaped like a little rake) or just warm the surface slightly (one of the pictures below has me using a pottery smoothing tool and a long-handled lighter) and smooth it over.


My Observations
- Wax hardness really matters. The softer wax is dramatically more forgiving (particularly when it comes to erasing) and is significantly more legible.
- Depth vs. visibility is a real trade-off. Carving deeper makes your letters clearer but creates more crumbly debris and texture. Shallower strokes are neater but vanish in dim light, you really need to hold it at an angle so as to get a “raking light” angle.
- I think it’d probably have been best as a personal memory tool. The writing isn’t super legible to others, and it can’t hold a ton. I’d think abbreviations would’ve been common, for the sake of economy—which would further ‘personalize’ the tablet and make it harder for another person to read.
If you try this yourself, I’d love to hear about your materials and results—feel free to email me at tfavdw@nyu.edu!